guides
How to Turn an AI Image Into Video
Prepare a strong still, plan one clear movement, and review the resulting clip before building a longer sequence.
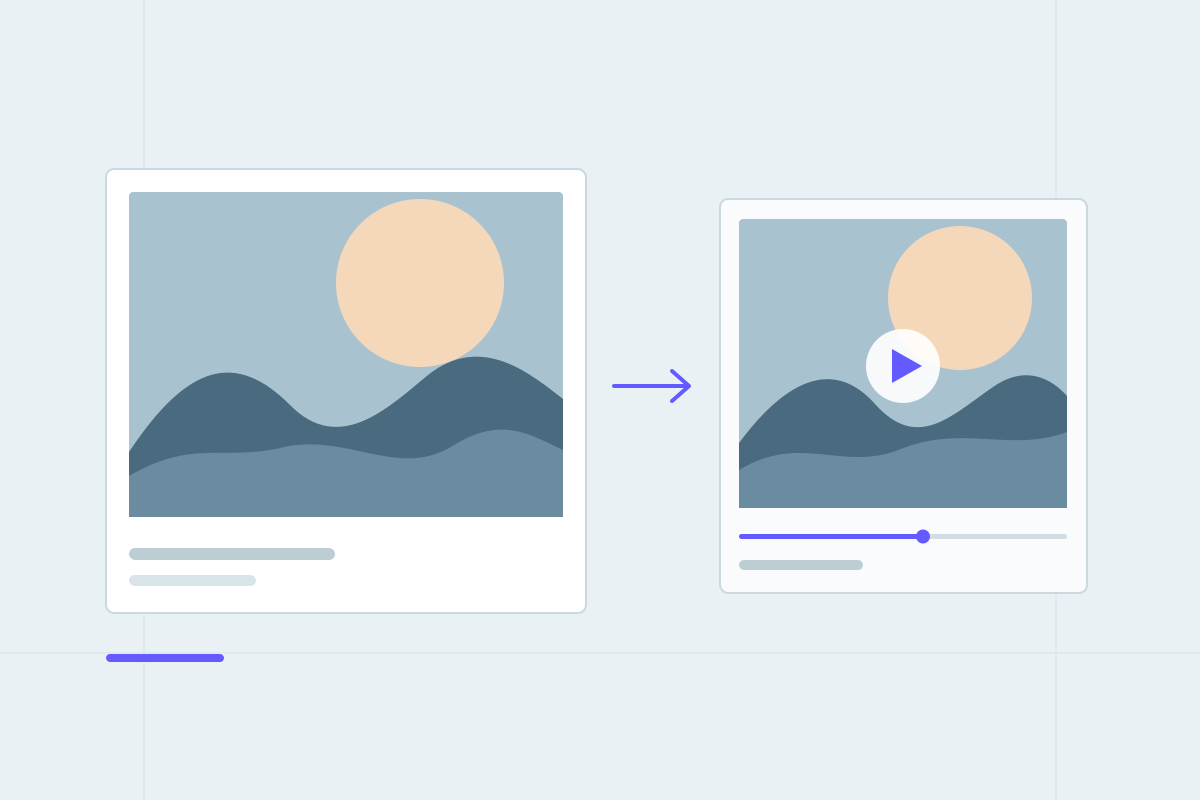
A still image gives you a composition. Turning it into a useful video requires a second set of decisions: what moves, how the camera behaves, what should remain stable, and how the shot ends. A successful clip usually starts with a specific answer to those questions, rather than a request to make everything more cinematic.
This guide describes a general image-to-video workflow. Exact controls, supported inputs, duration, and output quality depend on the tool and configuration you use. In FusionAI, video capability is provider- and configuration-dependent. Confirm that the relevant operation is available in your workspace before planning a project around it. A written motion brief is still useful even when you will animate the image elsewhere.
Decide what the movement should communicate
Give the clip one job. You might want to reveal the texture of a ceramic object, suggest wind passing through a garden, or introduce the setting of a story. These intentions call for different movement. “Show the glaze catching the light as the viewpoint shifts slightly” gives you a reviewable goal. “Make an amazing video” does not.
Decide where the clip will appear. A small looping background needs different framing from a narrated demonstration. Consider whether titles will sit over the image, whether the audience needs to inspect a detail, and whether the shot must connect with another shot. Those decisions influence the still you choose as much as the eventual motion instruction.
Before generating, describe the desired first and last impressions in plain language. If you cannot explain what should change between them, the image may already do the job on its own.
Choose a still that can support the shot
Look at the source image as a starting frame, not just as an attractive picture. Identify the main subject, foreground, background, and any small details that must remain recognizable. A frame with a clear focal point is easier to evaluate than one containing several equally important objects.
Inspect areas where plausible movement will be difficult to judge. Overlapping hands, dense patterns, tiny lettering, and complicated reflections deserve attention. The aim is not to ban these elements. It is to know what you will need to check carefully when frames change.
For example, suppose your still shows a pale ceramic cup on a stone ledge with leaves in the background. A restrained scene with a little space around the cup gives you room to test a slow camera movement. A tightly cropped handle at the edge of the frame makes the same movement harder to assess. If the source has a visible defect, fix or replace it before animation rather than hoping motion will hide it.
Prepare the image before asking for motion
Choose the destination aspect ratio early. If the final placement is vertical, inspect a vertical crop before spending time on motion. Cropping after generation can remove the detail that made the shot work. Leave enough room for the planned movement and any text that will be added later.
Use the original available file when practical, and check your tool's accepted formats and size limits. There is no universal ideal resolution or file type for every video system. Follow the requirements of the actual operation you are using. The FusionAI image tools include utilities for resizing, converting, and compressing an image when preparation is needed.
Compression is a delivery choice, not a way to repair visual problems. Compare the prepared file with the source, especially along edges and in subtle gradients. Keep the source separately so you can return to it if the crop or format needs to change.
Write a motion brief in layers
A motion brief should distinguish camera movement from subject movement. “The camera moves closer” and “the object moves closer” can produce very different results. Specify which you mean and identify what should remain stationary.
For the cup scene, begin with one controlled idea:
A gentle camera move toward the ceramic cup. The cup and stone ledge remain still. Background leaves shift slightly in a light breeze. Keep the existing soft daylight and the cup's shape consistent.
This is an original instructional example, not a record of a generated clip. Its value is that it establishes priorities. The camera provides the main motion; the leaves provide supporting motion; the cup's appearance is a constraint. If the tool offers separate motion controls, use them consistently with the brief rather than asking the text to contradict the controls.
Do not assume a constraint will be obeyed perfectly. Treat it as a direction to test. If a logo, written label, or precise shape must survive unchanged, plan a stricter review and consider whether conventional editing or compositing is more suitable for that requirement.
Test one shot before building a sequence
Start with the shortest practical test that lets you assess the movement. Available duration choices vary, so use the controls in front of you. Keep the starting image and motion direction stable while testing. Changing the crop, lighting, camera movement, and subject action together makes it difficult to learn from the result.
Review the whole clip at normal speed first. Ask whether you can immediately identify the subject and whether the movement supports the intended job. Then inspect the beginning, middle, and end more closely. Watch for a cup handle changing shape, a background object appearing, or the viewpoint moving in an unintended direction.
A useful review note identifies the defect and when it occurs: “The cup stays stable at the beginning, but the handle narrows near the end.” That gives you a reason to simplify the movement, shorten the usable segment, or try a different source. “It looks off” leaves the next iteration largely to chance.
Diagnose failures with smaller changes
If the subject changes shape, reduce the amount of requested motion and remove competing instructions. If the camera behaves unpredictably, choose one direction and avoid simultaneously asking for an orbit, a zoom, and a dramatic reveal. If the background dominates, reconsider the source composition or reduce secondary movement.
When the clip feels lifeless, the answer is not always more motion. The subject may lack a clear relationship to the movement. A small shift that reveals surface texture can communicate more than a large sweep that reveals nothing useful. Revisit the purpose of the shot before increasing its intensity.
Keep brief iteration notes with the image version and the instruction you changed. Save the acceptable result before trying another variation. Compare alternatives against the original goal, rather than selecting whichever is newest or most dramatic.
Edit the usable material into a finished piece
A generated clip is often an ingredient. Review whether it needs trimming, titles, sound, or a transition to another shot. Those are separate production tasks and may require an editing tool outside the generation workflow. Do not assume that image-to-video generation also provides narration, music, captions, or a complete edited film.
Choose the portion that communicates the intended movement without distracting defects. If the ending introduces a visual inconsistency, a shorter cut may work better than preserving the entire output. Leave enough breathing room for viewers to understand the image before introducing another idea.
If you add a title, check contrast and placement throughout the moving shot. A readable title on the first frame may become difficult to see against a changing background. Watch the exported version at its intended display size; the editing preview is not the final viewing experience.
Check publication readiness separately
Before sharing, confirm that the source image and any added material are appropriate for public use. Keep private working references, account details, and conversation content out of the final piece. A clip that looks finished has not automatically passed a publication review.
Inspect the exported file's orientation and playback, and confirm that its actual duration and format suit the destination. Review it without the motion brief beside you. Can someone understand the shot without knowing what you intended? If not, improve the edit or simplify the idea.
For a stronger starting frame, read How to Write Better Prompts for AI Image Generation. To place motion within a larger project, see the multimodal workflow guide. You can begin a brief in FusionAI chat, then continue with the capabilities available in your environment. The useful habit is consistent: establish the image, request one purposeful movement, inspect the result, and revise deliberately.